Glass-ceramic cooktops are a modern kitchen staple. They are sleek, stylish, and easy to clean—but they can also be surprisingly delicate. Despite careful use, it’s common for scratches to appear over time, whether from metal cookware, abrasive scrubbing pads, or accidental spills. While these scratches may not always affect cooking performance, they can be unsightly and make your cooktop appear worn or damaged.
The good news is that most minor scratches can be removed or at least significantly minimized with careful attention and the right techniques. After years of research, expert appliance care advice, and practical experience, a four-step method has emerged as the most effective way to restore your glass-ceramic cooktop to near-pristine condition. These steps are safe, straightforward, and can be done at home with minimal tools.
Understanding the Nature of Scratches on Glass-Ceramic Cooktops
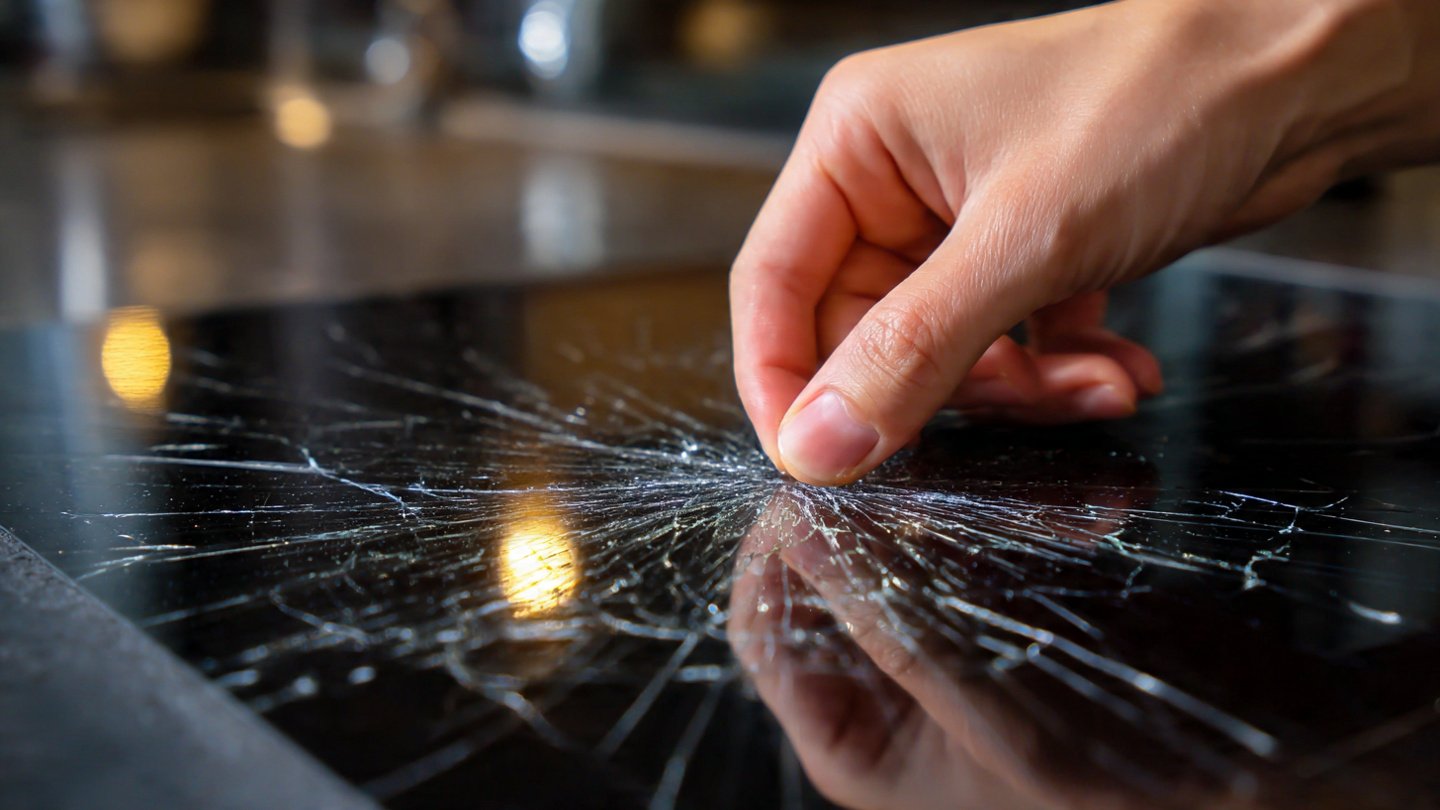
Before attempting repair, it helps to understand what you’re dealing with. Glass-ceramic cooktops are made of specially tempered glass designed to withstand high heat and thermal shock. Despite its durability, the surface is softer than metal, making it susceptible to light scratches from utensils, abrasive cleaners, or dragging heavy cookware.
Scratches can be classified as:

- Surface scratches: Superficial marks that usually only affect appearance.
- Deep scratches: Grooves that may catch dirt or reduce smoothness but rarely compromise heating.
- Etching: Caused by acidic spills or harsh cleaners, often mistaken for scratches but chemically different.
Most scratches fall into the first category, and these are the easiest to address. Deep scratches may require professional attention or replacement, while etching needs a slightly different treatment to restore shine.
Step 1: Clean the Cooktop Thoroughly
The first step in scratch removal is preparation. You cannot effectively remove scratches if the cooktop surface is dirty, greasy, or has food residue. Cleaning also ensures that you do not embed dirt particles into the glass while polishing, which can worsen scratches.
How to Clean:
- Allow the cooktop to cool completely. Never clean a hot surface with water or abrasive products.
- Use a soft microfiber cloth or sponge and a mild dish soap mixed with warm water.
- Wipe the entire surface thoroughly to remove grease, crumbs, and stains.
- Rinse the cloth and wipe again to remove any soap residue.
- Dry the cooktop completely with a clean, dry cloth.
At this stage, inspect the scratches under good lighting. Cleaning may reveal whether they are shallow surface scratches or deeper grooves. This step alone often improves appearance by removing dirt lodged in scratches.
Step 2: Apply a Glass-Ceramic Cooktop Cleaner
After cleaning, the next step is to use a dedicated cooktop cleaner. These cleaners are formulated to polish glass-ceramic surfaces without causing additional scratches. They contain mild abrasives or polishing compounds that gently level surface imperfections.

How to Apply:
- Spread a small amount of cooktop cleaner over the scratched area.
- Use a soft, non-abrasive cloth or sponge to rub the cleaner into the scratch in a circular motion.
- Apply moderate pressure, enough to polish but not so much that you risk cracking the surface.
- Work the cleaner evenly over the surrounding area to blend the polish and maintain uniform shine.
Patience is key. Depending on the severity of the scratch, this step may need to be repeated several times to see noticeable improvement. The goal is not to remove the glass itself but to minimize the appearance of scratches by leveling the surface around them.
Step 3: Use a Scratch-Repair Kit or Mild Abrasive Paste
For scratches that remain visible after cleaning and polishing, a cooktop scratch repair kit or a homemade mild abrasive paste can be used. These are designed specifically for glass-ceramic surfaces and are safer than general abrasives like baking soda or steel wool.
Scratch Repair Kit Method:
- Purchase a ceramic cooktop scratch repair kit from a hardware or appliance store. These kits typically include a polishing cream and applicator pads.
- Follow the manufacturer’s instructions carefully. Usually, you will:
- Apply the cream directly onto the scratch.
- Use the provided pad to rub the scratch in a circular or figure-eight motion.
- Wipe off excess cream and buff to shine with a soft cloth.
Homemade Mild Paste Option:
If you prefer a DIY approach, a paste made from baking soda and water can work for very light scratches:
- Mix baking soda with water until it forms a thick paste.
- Apply a thin layer to the scratched area.
- Rub gently in a circular motion using a soft cloth.
- Wipe clean and buff dry.
This step should be done gently to avoid creating new scratches. Always test a small area first to ensure no discoloration occurs.

Step 4: Buff and Protect the Surface
Once scratches have been minimized, the final step is to buff and protect the cooktop. Buffing restores shine and helps prevent future damage. Many cooktop cleaners also double as protective polishes, forming a thin layer that repels dirt and reduces friction when cooking.
Buffing Process:
- Use a clean, dry microfiber cloth.
- Rub the surface in small circular motions, focusing on treated areas.
- Ensure that no residual cleaner or paste remains, as residue can burn during cooking.
Optional Protective Measures:
- Consider applying a cooktop polish or protectant to maintain smoothness.
- Use soft, non-abrasive cleaning tools in the future.
- Avoid dragging heavy pots or using metal scrapers on the surface.
With proper maintenance, your cooktop will not only look better but also resist scratches for longer. Regular cleaning, gentle polishing, and protective habits significantly extend the life of your glass-ceramic cooktop.
Tips to Prevent Future Scratches
Prevention is always better than repair. To keep your cooktop smooth and scratch-free:
- Lift, don’t slide cookware: Dragging pots and pans across the surface is the most common cause of scratches.
- Use soft pads or trivets: Silicone or rubber trivets reduce abrasion when placing cookware down.
- Avoid abrasive cleaners: Steer clear of steel wool, scouring pads, or harsh chemical cleaners.
- Clean spills promptly: Sugar, tomato sauces, and other sticky residues can etch the surface if left to bake under heat.
- Regular maintenance: Periodically polish the cooktop using a dedicated cleaner to maintain shine and minimize minor scratches.
When to Seek Professional Help
While minor scratches can usually be repaired at home, some situations require professional attention:

- Deep gouges or cracks: If the scratch is deep enough to catch your fingernail, professional repair or replacement may be necessary.
- Burned-on food that won’t come off: Specialized scrapers or heat treatments may be needed.
- Persistent cloudiness or etching: Chemical damage from acidic spills may require expert polishing.
Attempting to remove deep scratches yourself can worsen the damage or void warranties, so exercise caution.
Final Thoughts
Scratches on a glass-ceramic cooktop are frustrating but often repairable. Following this **four-step approach—cleaning, applying cooktop cleaner, using a scratch repair kit or paste, and buffing/protecting the surface—**can restore beauty and smoothness to your cooktop. With a combination of repair and preventive care, you can keep your sleek kitchen appliance looking almost as good as new for years.
The key takeaway is that patience, the right tools, and gentle technique work far better than aggressive scrubbing or improvisation. By understanding the cooktop’s vulnerabilities and addressing scratches carefully, homeowners can maintain a pristine, functional, and visually appealing kitchen centerpiece without costly replacement.
A small investment in time and care today can save money, preserve appliance longevity, and restore pride in your kitchen’s centerpiece tomorrow.